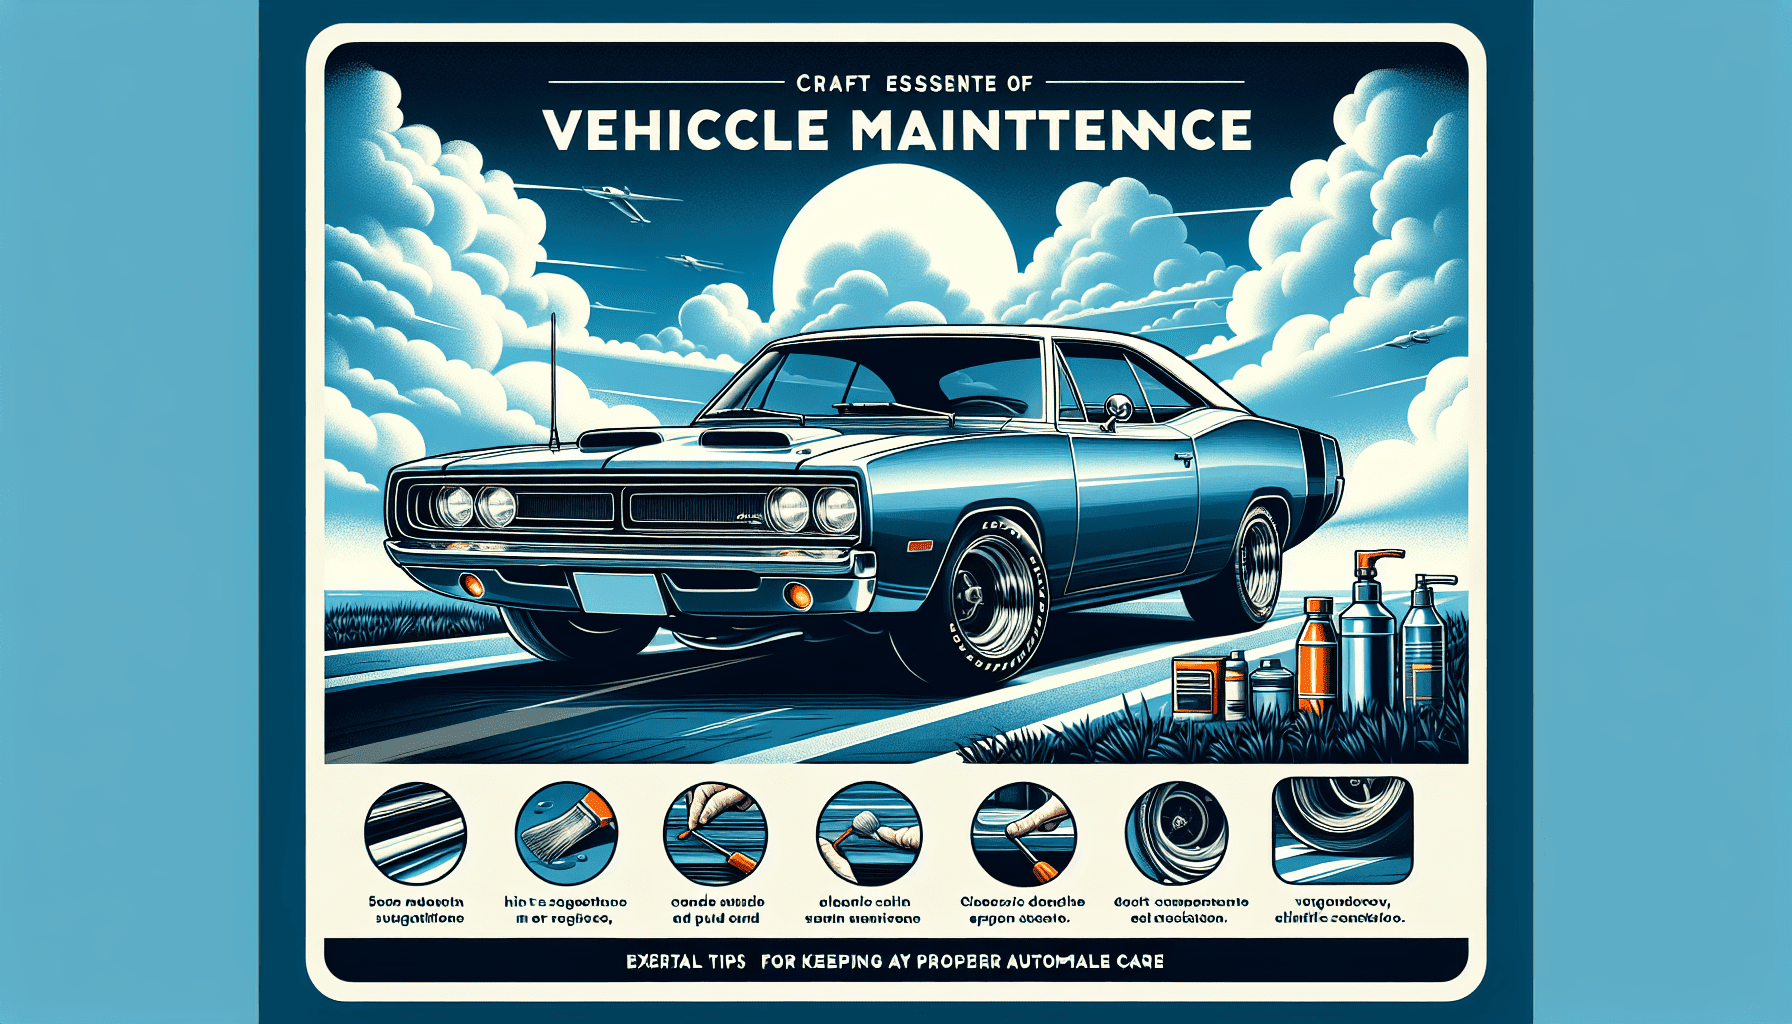
Maintaining your Ford vehicle is essential to ensure it stays in top shape and provides you with reliable transportation. In this article, we will provide you with some valuable tips and tricks on how to keep your car in the best possible condition. From regular check-ups to proper care and cleaning, we’ve got you covered. So let’s get started on your journey to becoming a pro at Ford vehicle maintenance!

1. Ford Vehicle Maintenance Basics
Understanding your vehicle
To effectively maintain your Ford vehicle, it’s essential to understand its intricate components and how they work together. Familiarize yourself with the owner’s manual and learn about the different systems in your vehicle, such as the engine, transmission, suspension, and electrical system. This knowledge will empower you to tackle basic maintenance tasks and recognize potential issues before they become major problems.
Importance of regular maintenance
Regular maintenance is crucial to keeping your Ford vehicle in top shape. By following a routine maintenance schedule, you can prevent unexpected breakdowns, extend the lifespan of your vehicle, and maintain its performance and fuel efficiency. Additionally, regular maintenance can help identify minor issues early on, saving you from expensive repairs down the road.
Recommended maintenance schedule
Ford provides a comprehensive maintenance schedule for each vehicle model in the owner’s manual. This schedule outlines the recommended intervals for various maintenance tasks, such as oil changes, filter replacements, and inspections. Following this schedule will ensure that you address the critical maintenance needs of your vehicle at the appropriate times.
2. Checking Fluid Levels
Engine oil
Regularly checking the engine oil level is vital for optimal engine performance and longevity. Locate the dipstick, usually labeled with a bright-colored handle, and pull it out. Wipe it clean, re-insert it, and then pull it out again to check the oil level. If the level is low, add the recommended grade of oil for your Ford vehicle. Ensure you use the correct oil type and quantity specified in the owner’s manual.
Coolant
Maintaining the appropriate coolant level is essential to prevent your engine from overheating. Check the coolant reservoir, usually located near the radiator, while the engine is cool. Ensure the coolant level is between the minimum and maximum marks. If needed, add a 50/50 mixture of coolant and distilled water to reach the desired level. Remember to use the coolant specified for your Ford vehicle.
Transmission fluid
Checking the transmission fluid is crucial for smooth gear shifts and overall transmission health. Locate the transmission dipstick, typically labeled with a bright-colored handle, and follow the same procedure as checking the engine oil level. Ensure the fluid is at the appropriate level and looks clean and translucent. If necessary, consult the owner’s manual for the correct transmission fluid type and add it as needed.
Brake fluid
Inspecting the brake fluid level is essential for safe braking performance. Locate the brake fluid reservoir, usually near the brake master cylinder. Ensure the fluid level is between the minimum and maximum marks. If it is low, add the recommended brake fluid for your Ford vehicle. Take extra care to prevent contamination, as brake fluid absorbs moisture from the air, which can reduce its effectiveness.
Power steering fluid
Checking the power steering fluid level is vital for smooth and easy steering. Locate the power steering fluid reservoir and check that the level is within the recommended range. If it is low, add the appropriate power steering fluid to bring it to the correct level. Refer to the owner’s manual for the specific fluid type recommended for your Ford vehicle.
Windshield washer fluid
Maintaining an adequate windshield washer fluid level is important for ensuring clear visibility while driving. Locate the windshield washer fluid reservoir, typically labeled with a windshield symbol. Check the fluid level and replenish it if necessary using a windshield washer fluid formulated for all-season use.
3. Changing Engine Oil
Frequency of oil changes
Regularly changing the engine oil is crucial for maintaining engine health. Follow the recommended oil change intervals specified in your Ford vehicle’s owner’s manual. Typically, Ford recommends oil changes every 7,500 to 10,000 miles or every six months, whichever comes first. However, keep in mind that certain driving conditions, such as frequent towing or driving in extreme temperatures, may require more frequent oil changes.
Choosing the right oil
Selecting the appropriate oil for your Ford vehicle is essential to ensure optimal engine performance and longevity. Refer to the owner’s manual for the recommended oil viscosity and specification. Consider factors such as climate, driving conditions, and the age of your vehicle when choosing the oil type. It’s crucial to use high-quality oil that meets the manufacturer’s specifications to maximize your engine’s protection.
Steps for changing oil
- Gather the necessary tools and materials, including a new oil filter, oil drain pan, socket wrench or oil filter wrench, and the correct amount and type of oil.
- Ensure your vehicle is parked on a level surface and the engine is cool.
- Locate the oil drain plug under the engine and position the oil drain pan beneath it.
- Loosen the drain plug using a socket wrench and let the old oil drain completely.
- While the oil is draining, remove the old oil filter. Use an oil filter wrench if needed.
- Before installing the new oil filter, lightly coat the rubber gasket with fresh oil.
- Install the new oil filter, ensuring it is tightened according to the manufacturer’s instructions (typically hand-tight plus a quarter turn).
- Once the old oil has completely drained, reinstall the drain plug and tighten it to the manufacturer’s specifications.
- Locate the oil filler cap under the hood, remove it, and pour the recommended amount of new oil into the engine.
- Replace the oil filler cap and start the engine. Let it run for a few minutes, then turn it off and wait for a few minutes to allow the oil to settle.
- Check the oil level using the dipstick and adjust if necessary. Consult the owner’s manual for the correct procedure.
- Properly dispose of the used oil at a designated recycling facility or an authorized service center.
Proper disposal of used oil
Used engine oil is hazardous to the environment and should not be disposed of improperly. To ensure safe disposal, collect the used oil in a sealed container such as the one your new oil came in. Take the used oil to an authorized recycling center or a service center that accepts used oil. Many auto parts stores also provide oil recycling services free of charge.
4. Inspecting and Replacing Filters
Air filter
Regularly inspecting and replacing the air filter is essential for maintaining good airflow to the engine. A dirty or clogged air filter can decrease fuel efficiency and negatively impact engine performance. Consult the owner’s manual for the recommended inspection and replacement intervals. The air filter is usually located in a rectangular or cylindrical housing under the hood. Remove the housing, take out the old air filter, and replace it with a new one that matches the manufacturer’s specifications.
Fuel filter
The fuel filter plays a crucial role in preventing contaminants from reaching the engine, ensuring smooth fuel delivery and optimal performance. Consult the owner’s manual for the recommended interval to inspect and replace the fuel filter. The location of the fuel filter can vary between Ford vehicle models, so refer to the manual for the specific instructions. When replacing the fuel filter, ensure you use a high-quality replacement that matches the original specifications.
Cabin air filter
The cabin air filter is responsible for filtering the air entering the vehicle’s interior and ensuring clean air for passengers. Regularly inspecting and replacing the cabin air filter is important for maintaining good air quality inside the vehicle. Refer to the owner’s manual for the recommended replacement interval and location of the cabin air filter. Typically, the cabin air filter can be found behind the glove compartment or under the dashboard. Replace the cabin air filter with a new one that matches the manufacturer’s specifications.

5. Tire Maintenance
Importance of tire maintenance
Proper tire maintenance is vital for safe and efficient driving. Well-maintained tires ensure optimal traction, handling, and braking performance, contributing to overall road safety. Regularly inspecting and maintaining your tires can also help detect and prevent tire wear, prolonging their lifespan and saving you money in the long run.
Checking tire pressure
Maintaining the correct tire pressure is crucial for tire performance and safety. Use a tire pressure gauge to check the pressure of each tire, including the spare, at least once a month. Inflate or deflate the tires to the recommended pressure specified in the owner’s manual or on the driver’s side door jamb. Ensure the tires are cold before checking the pressure for accuracy.
Tire rotation
Rotating your tires regularly promotes even tread wear, extends tire life, and enhances overall performance. Refer to the owner’s manual for the recommended tire rotation interval, as it can vary depending on the vehicle model and tire type. The general rule of thumb is to rotate the tires every 5,000 to 8,000 miles or as advised by a professional technician. If your vehicle has unidirectional tires, ensure they are rotated according to the correct pattern recommended by the tire manufacturer.
Alignment and balancing
Proper wheel alignment and balance are essential for maintaining tire health and overall vehicle stability. If you notice uneven tread wear, steering pulling to one side, or vibrations while driving, it may indicate the need for wheel alignment or balancing. Consult a professional technician to assess the alignment and balance of your tires and make necessary adjustments if required.
Tire tread inspection
Regularly inspecting the tire tread depth helps ensure optimal traction and safe driving in various weather conditions. Use a tread depth gauge or the tread wear indicators on your tires to measure the depth. If the tread depth falls below the recommended limit (typically 2/32 of an inch), it’s time to replace the tires. Additionally, inspect the tires for any signs of damage, such as cuts, bulges, or punctures, and address them promptly to prevent tire failure.
6. Brake System
Brake pad inspection
Regularly inspecting the brake pads is crucial for safe braking performance. Remove the wheels to access the brake calipers and pads. Check the brake pads for wear, ensuring they have sufficient padding remaining. Most brake pads have a wear indicator, which is a small metal piece that makes contact with the rotor when the pad wears down. If the pads are excessively worn or the wear indicator is touching the rotor, it’s time to replace the brake pads.
Brake fluid change
Maintaining clean and properly functioning brake fluid is essential for optimal brake system performance. Over time, brake fluid can become contaminated with moisture or debris, affecting its effectiveness. Follow the recommended brake fluid change intervals specified in the owner’s manual, or consult a professional technician. During a brake fluid change, the old fluid is drained and replaced with fresh fluid that meets the manufacturer’s specifications.
Brake rotor replacement
The brake rotors work in conjunction with the brake pads to provide stopping power. If you notice pulsation or vibrations during braking, or if the rotors are worn beyond their allowed thickness, they may need to be replaced. Consult a professional technician to assess the condition of the brake rotors and replace them if necessary. Proper installation and bedding-in of new brake rotors are crucial for optimal performance and longevity.
Brake system maintenance tips
To ensure the longevity and effectiveness of your brake system, consider these maintenance tips:
- Avoid riding the brakes or excessive braking, as it can cause premature wear.
- Use the parking brake regularly to prevent it from seizing or becoming less effective.
- Regularly inspect the brake lines and hoses for any signs of leaks, cracks, or damage.
- Perform regular brake fluid checks and ensure the fluid level is within the recommended range.
- Practice smooth and gradual braking to minimize stress on the brake components.
7. Battery Care
Checking battery terminals
Regularly inspecting the battery terminals helps ensure a reliable electrical connection and prevents issues such as starting problems. Turn off the engine and locate the battery under the hood. Inspect the battery terminals for any signs of corrosion, which appears as a white or greenish build-up around the terminals. If corrosion is present, gently clean the terminals with a wire brush and a mixture of baking soda and water.
Cleaning corrosion
Corrosion on battery terminals can impede the flow of electricity and cause starting and electrical problems. To clean the terminals, follow these steps:
- Disconnect the negative (black) cable from the battery terminal first, then the positive (red) cable.
- Use a wire brush or battery terminal cleaner to scrub away any corrosion on the terminals.
- Mix a paste of baking soda and water and apply it to the terminals and cable ends. Allow it to sit for a few minutes.
- Rinse off the baking soda paste with clean water.
- Dry the terminals and cable ends with a clean cloth.
- Reconnect the positive cable first, followed by the negative cable.
Battery replacement
Batteries have a limited lifespan and will eventually need to be replaced. Signs that indicate a failing battery include slow engine cranking, dim headlights, and difficulty starting the vehicle. If you suspect your battery is near the end of its life, consult a professional technician for a battery inspection and possible replacement. When replacing the battery, ensure you choose the correct size and type of battery specified for your Ford vehicle.
8. Spark Plug Replacement
Importance of spark plugs
Spark plugs play a vital role in the ignition process, providing the spark necessary to ignite the air-fuel mixture in the engine cylinders. Over time, spark plugs can wear out, resulting in engine misfires, reduced fuel efficiency, and poor performance. Regularly replacing spark plugs is essential for maintaining optimal engine combustion and overall vehicle performance.
When to replace spark plugs
Refer to the owner’s manual for the recommended spark plug replacement interval specific to your Ford vehicle. In general, spark plugs should be replaced every 30,000 to 100,000 miles, depending on the type of spark plug and the driving conditions. Signs that indicate the need for spark plug replacement include rough idle, difficulty starting the engine, decreased fuel efficiency, and frequent misfires.
Steps to replace spark plugs
- Ensure the engine is cool before starting the replacement process.
- Locate the spark plug wires or ignition coils, depending on your vehicle model.
- Remove one wire or coil at a time, starting with the first spark plug.
- Use a spark plug socket and ratchet to remove the old spark plug.
- Inspect the condition of the old spark plug, looking for signs of wear, deposits, or damage.
- Gap the new spark plug according to the manufacturer’s specifications if necessary.
- Install the new spark plug by hand, ensuring it is threaded correctly.
- Use a torque wrench to tighten the spark plug to the specified torque value.
- Repeat the process for each spark plug until all have been replaced.
- Reinstall the spark plug wires or ignition coils, ensuring they are securely connected.
9. Belts and Hoses Inspection
Checking for wear and tear
Regularly inspecting the belts and hoses in your Ford vehicle is important for identifying signs of wear, damage, or aging. Visually inspect the belts and hoses for any cracks, fraying, bulges, or signs of leakage. Pay attention to the serpentine belt, timing belt, and coolant hoses. If you notice any signs of wear or damage, it’s important to have them replaced promptly to prevent potential engine or cooling system failure.
Replacing worn-out belts and hoses
Replacing worn-out belts and hoses is essential for maintaining the integrity of your vehicle’s engine and cooling system. If you notice any signs of wear or damage during the inspection, consult a professional technician for further evaluation and replacement if necessary. It’s recommended to have belts and hoses replaced by a qualified technician, as they require proper tensioning and positioning for optimal performance.
11. Additional Tips for Ford Vehicle Maintenance
Inspecting lights and electrical components
Regularly inspecting the lights and electrical components in your Ford vehicle helps ensure optimal visibility and safety on the road. Check all exterior lights, including headlights, taillights, brake lights, turn signals, and reverse lights, for proper operation. Additionally, inspect the interior lights, such as dome lights and dashboard lights. If you notice any burnt-out bulbs or malfunctioning electrical components, have them replaced promptly.
Maintaining the cooling system
Proper cooling system maintenance is essential for preventing engine overheating and maximizing engine efficiency. Regularly inspect the coolant level and quality, and top up or replace the coolant as needed. Ensure the radiator and cooling system components are free from debris and clean. Consider having the cooling system flushed and refilled according to the manufacturer’s recommendations to remove any built-up contaminants.
Regular inspections for potential issues
In addition to the specific maintenance tasks mentioned above, it’s important to perform regular inspections of your Ford vehicle for potential issues. Keep an eye out for any unusual noises, vibrations, warning lights, or changes in the vehicle’s performance. Address any concerns promptly by consulting a professional technician who is knowledgeable about Ford vehicles. By staying proactive and vigilant, you can catch and resolve potential problems before they escalate.
